Introduction
Manually adding a product in Mysellerhub allows you to create a new listing step by step, ensuring all important details are filled in.
In this section, you will learn:
- How to manually add a new product.
- What key fields are required.
- Where to find inventory and warehouse settings.
Stages of the process:
Adding a product manually is simple and consists of 7 steps:
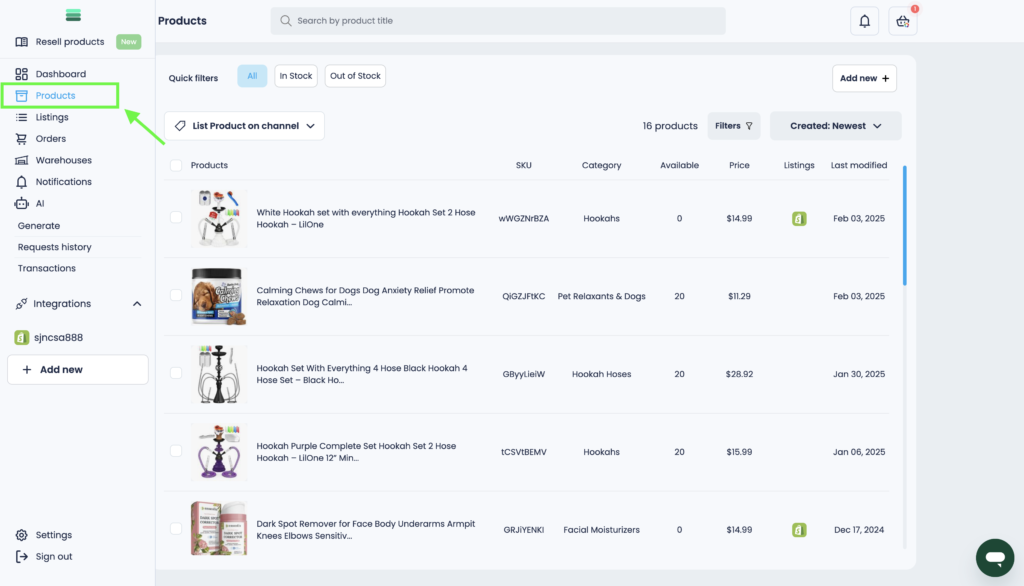
1. Open the Products section.
Navigate to the “Products” tab in the sidebar.
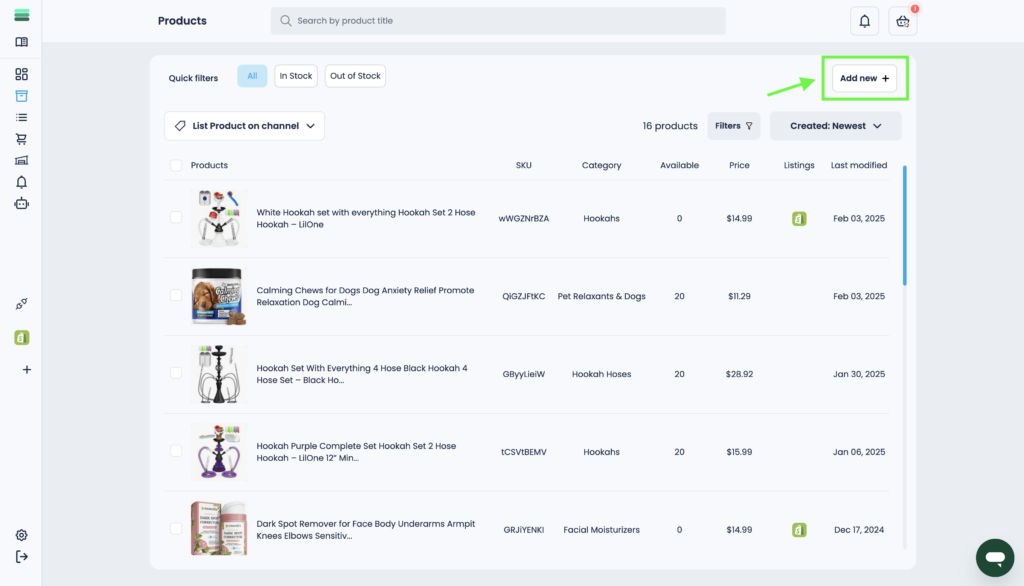
2. Click the “Add new” button.
This will open a new product creation form.
3. Fill in the “Title” field.
Enter the name of your product.
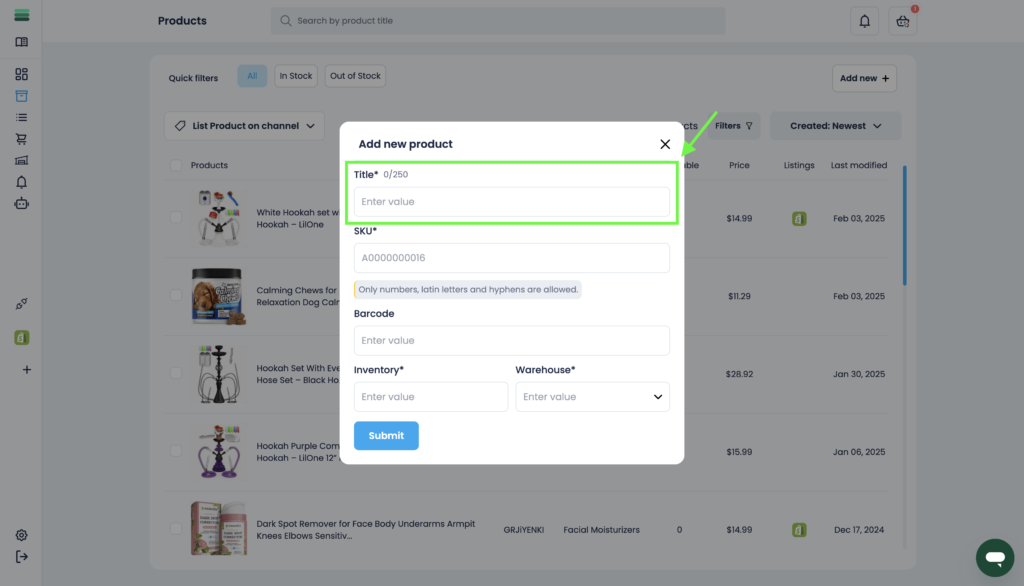
4. Fill in the “SKU” field.
(Stock Keeping Unit – a unique identifier for the product).

5. Fill in the “Barcode” field.
Enter a barcode if applicable for tracking purposes.
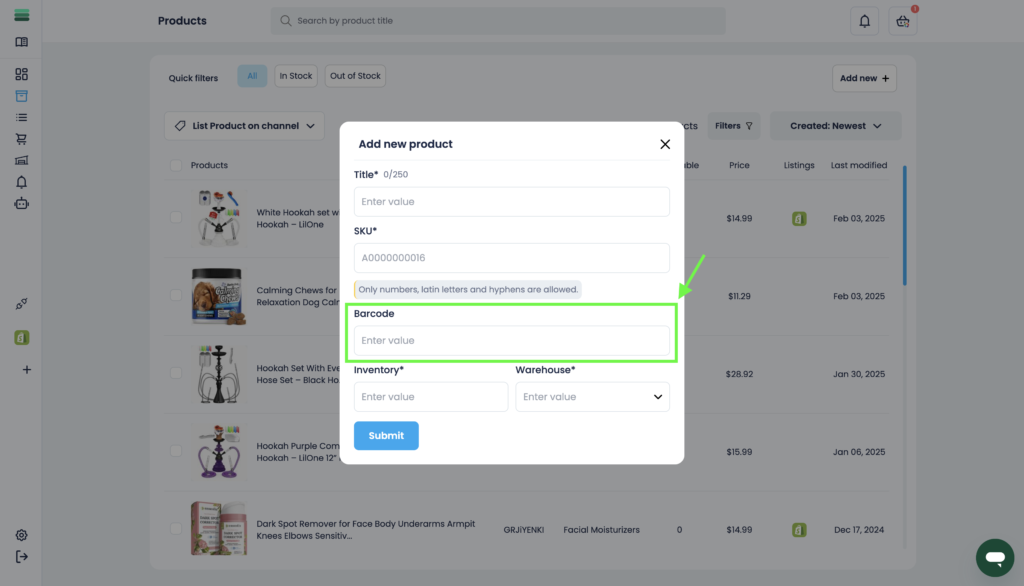
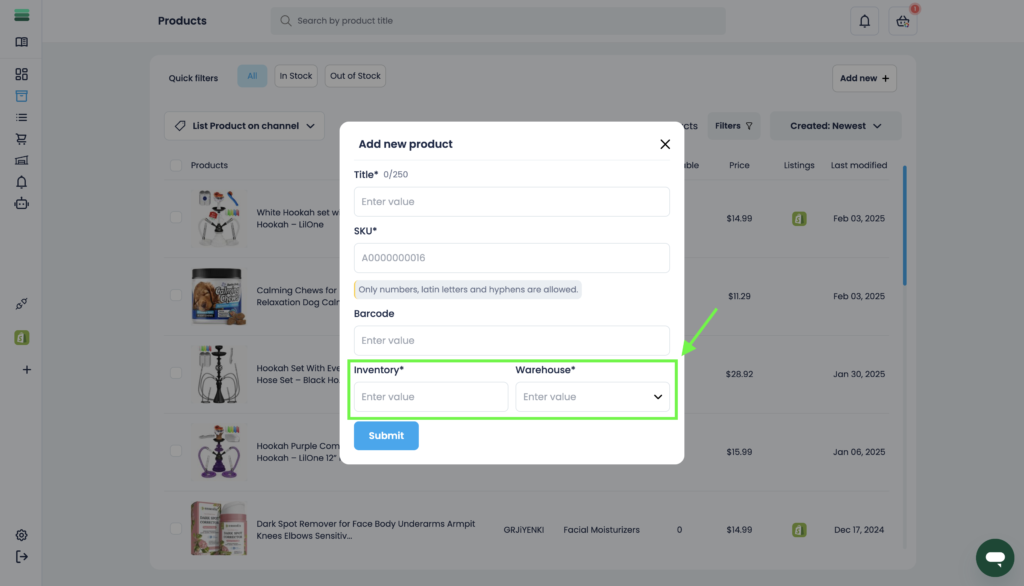
6. Fill in the “Inventory” and “Warehouse” fields.
Set stock levels and select the warehouse where the product is stored.
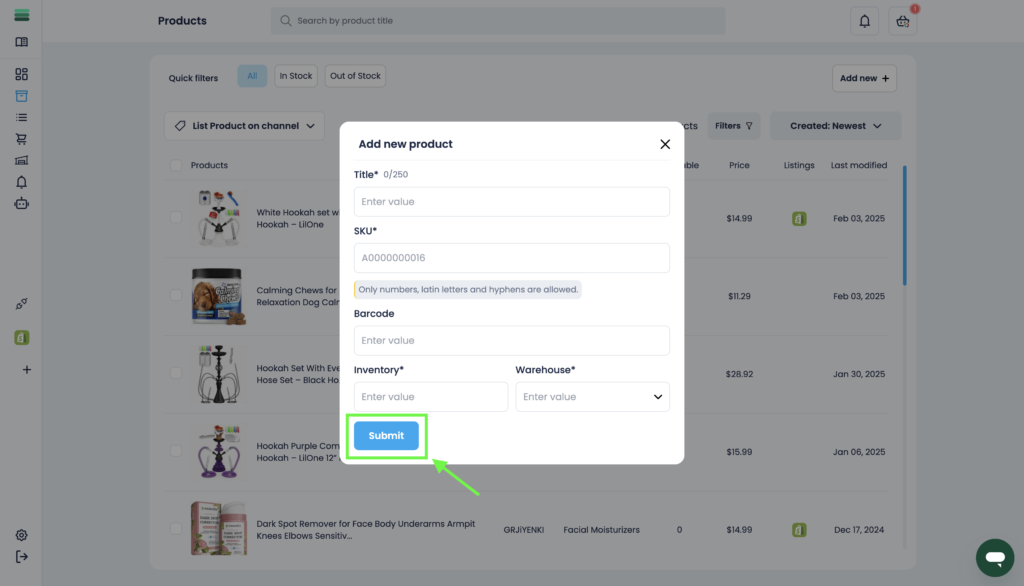
7. Click “Submit” to complete the process.
Your product is now added to the inventory.
Tip: Ensure your SKU and Barcode fields are unique to avoid duplication issues. If you’re managing multiple warehouses, check stock availability before saving.
Final Thoughts:
Congratulations! You’ve successfully added a new product to your inventory. Keep your listings updated and structured for a smooth selling experience!